At the beginning of any streamer path, there are two ways you can go to understand all the nuances of high-quality sound: choose a USB or XLR microphone. And what is the difference?
USB vs XLR: Which Microphone to Choose for Streaming?
Let’s start with the basics. A USB microphone connects directly to the same port on your computer, while an XLR microphone requires a connection via a recording interface or a digital interface. Read more useful information about microphones on microphonetopgear.
None of the above options can be called bad or good. Strictly speaking, most USB microphones use exactly the same components as their XLR assembles, and therefore the sound quality is comparable.
However, each of these types of connections will behave better in certain situations. In this article, we will look at the advantages of each configuration and help you decide on the choice for the streamer setup.
USB microphones
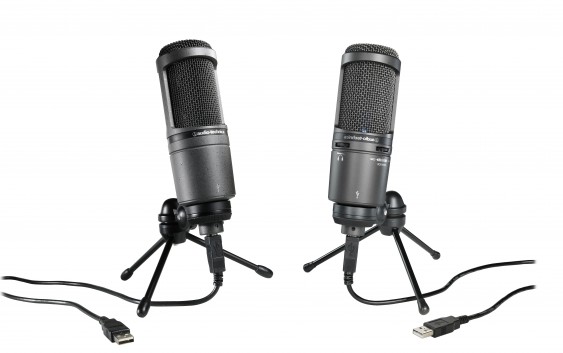
USB microphones such as Blue Snowball or Blue Yeti are the top choice for gamers. They sound great, they are easy to use and they do not require any additional gadgets. Blue Yeti, by the way, is a bestseller for gamers around the world; and this is no accident – it has simple control and plug-and-play connection (plugged in and forgotten).
USB microphones are ideal for single streamers and for gamers who travel a lot. But if your tasks are a bit wider – for example, you need to connect multiple microphones, a mixer or an external signal handler, then there is a small life hack with Yeti – you can choose the Pro version with USB and XLR.
Blue Yeti Pro is ideal for gamers who do not look for a compromise. These are the convenience of recording via USB, and the flexibility to connect via XLR. This is the first microphone that records a 24-bit/192 kHz digital signal in your home and can be connected to professional equipment in a studio.
Now you don’t have to choose from where to record – from home, studio or from the street – Yeti Pro has absorbed the best of two connection methods.
XLR microphones
If you have the ability to connect additional professional equipment to the setup (sound interfaces, mixers or gadgets), then XLR is your choice. But when the choice is so wide that the roster of players in Mortal Kombat does not seem so big, you can get bogged down for a long time in the process of choosing the perfect microphone.
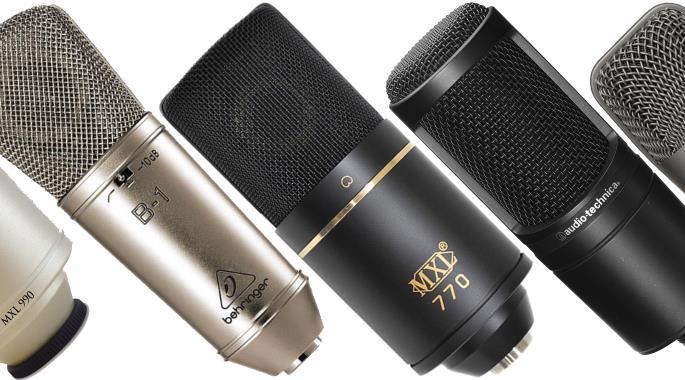
Reliable handheld microphones, broadcast legends, studio condenser icons – the number of XLR microphones that can improve the quality of your stream is incalculable. But in the end, which one is right for you? Since each person’s voice is unique, there is no single formula for choosing a microphone, except to try them live.
But we will try to help by defining several criteria for narrowing the choice: budget, microphone type, and sound quality. Let’s start by choosing the type of microphone that fits your streams.
Dynamic microphones like Shure SM7b or the Blue Encore series are ideal for handling loud sounds. If you like to shout, a dynamic microphone will help avoid distortion at peak times. On the other hand, condenser microphones such as Blue Spark SL or Blue Bluebird SL are capable of transmitting more detailed and clear sound than their dynamic counterparts.
We’ve chosen the type of microphone and now it’s time to connect it to the computer. Naturally, there are no USB cables, and your computer does not have an XLR connector. To connect an XLR microphone to a computer, you will need a sound interface (easier – a sound card).
Audio interfaces are complex devices that perform two important functions during the audio recording process: they pre-amplify the signal from a microphone and convert the analog signal to digital, which is already being processed by your computer.
Also, audio interfaces allow you to capture the signal from multiple XLR microphones at once. If you are planning to hold tournaments or couch cooperative battles with several players, you will not need a USB microphone – you need an audio interface and several XLR microphones.
Setting up an XLR microphone is no more difficult than a USB version — connect the microphone (s) to the audio interface using an XLR cable and choose the interface as the sound source in your program for streaming.
Accessories – are our salvation!
So, we have an audio interface and an XLR microphone, which means that the sound on the stream has become better. But by adding a few accessories, the sound quality can be made even better!
Campass is a premium microphone boom with internal springs and built-in cable management channels. It is ideal for streams. The stylish, “chamber” appearance and absolute noiselessness of Compass will significantly improve your streams.
Radius III, Ringer, and S3 shock mounts are used to isolate microphones from noise and vibrations. Shock mounts are compatible with almost any microphones or adapters that use a standard mounting socket. This is an ideal solution to prevent excessive noise from shaking the microphone.
Pop-filters are designed to cut off plosive or explosive consonants. A small bonus – they help protect the microphone from saliva during the hottest moments of the stream.
Stand out from the crowd
If you are planning to make professional streams, then sound quality is one of the pillars you should strive for. It doesn’t matter what type of connection you choose – any professional-grade microphone will radically improve the sound range; compared to built-in or cheap desktop microphones that look and sound like they came to us straight from the 80s.
The high quality of the sound of the stream will set you apart from the millions of lemmings and open the path to the highest caste. And if not, then at least your voice will sound as plausible as possible, during disputes with the team:)
Now you have everything to look and sound like a professional streamer. Make your streams truly outstanding!
- What is Ford Online Pay Stub and How to Access It? - June 28, 2023
- 10 Best Avatar Maker Apps for Android and iOS - June 25, 2023
- Discover the Top 8 Video Editing Software for Professionals and Beginners - April 22, 2023


